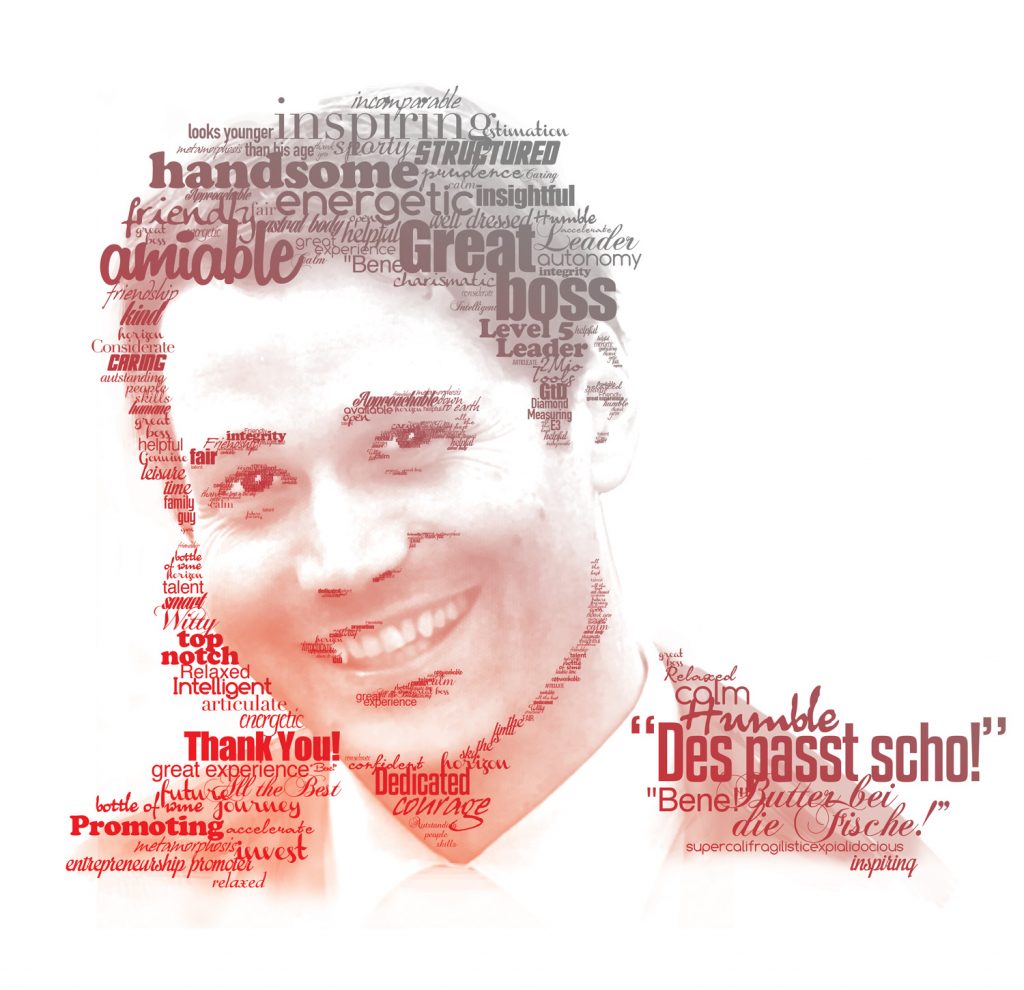
I did a typography portrait for the Zurgams agency. Their client Hilti needed a special goodbye gift for a team leader, who had been with the company for many years.
Making a Typography Portrait, Step by Step
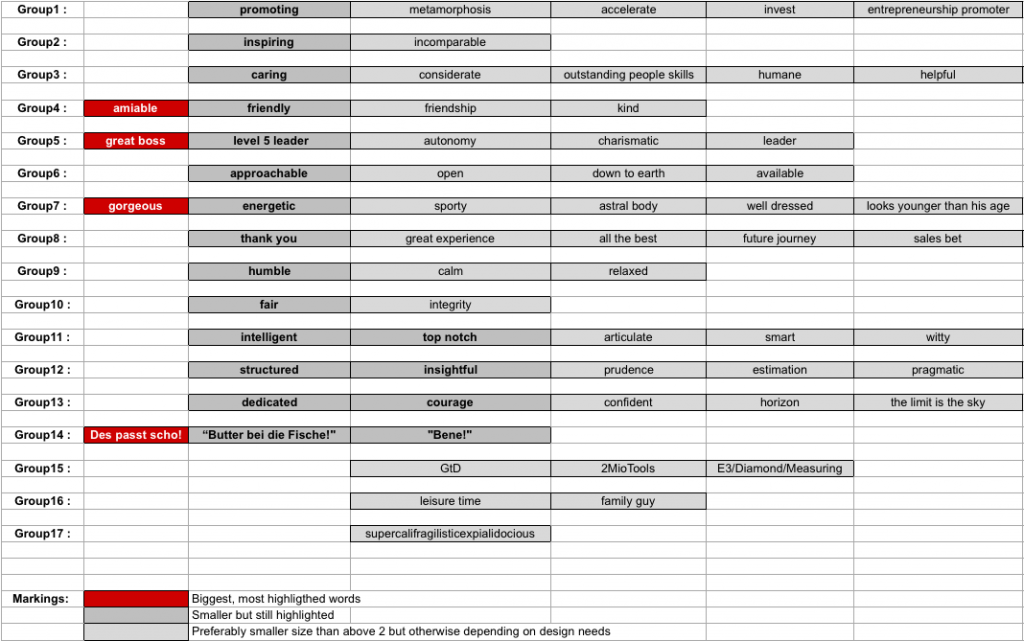
I got a photo from the team leader and a very well-elaborated list of words that described him best. The list contained the hierarchy of words: from important (=big) to not-so-important (=small) ones. The words in one group should stay close to the leading word. This word art is called “wordcloud.”
The first step was to edit the portrait image in Photoshop. I created the contrast and adjusted the levels.
Then I started to gather lots of different free fonts on websites such as Dafont and Fontsquirrel. I tried to find fonts matching the adjectives.
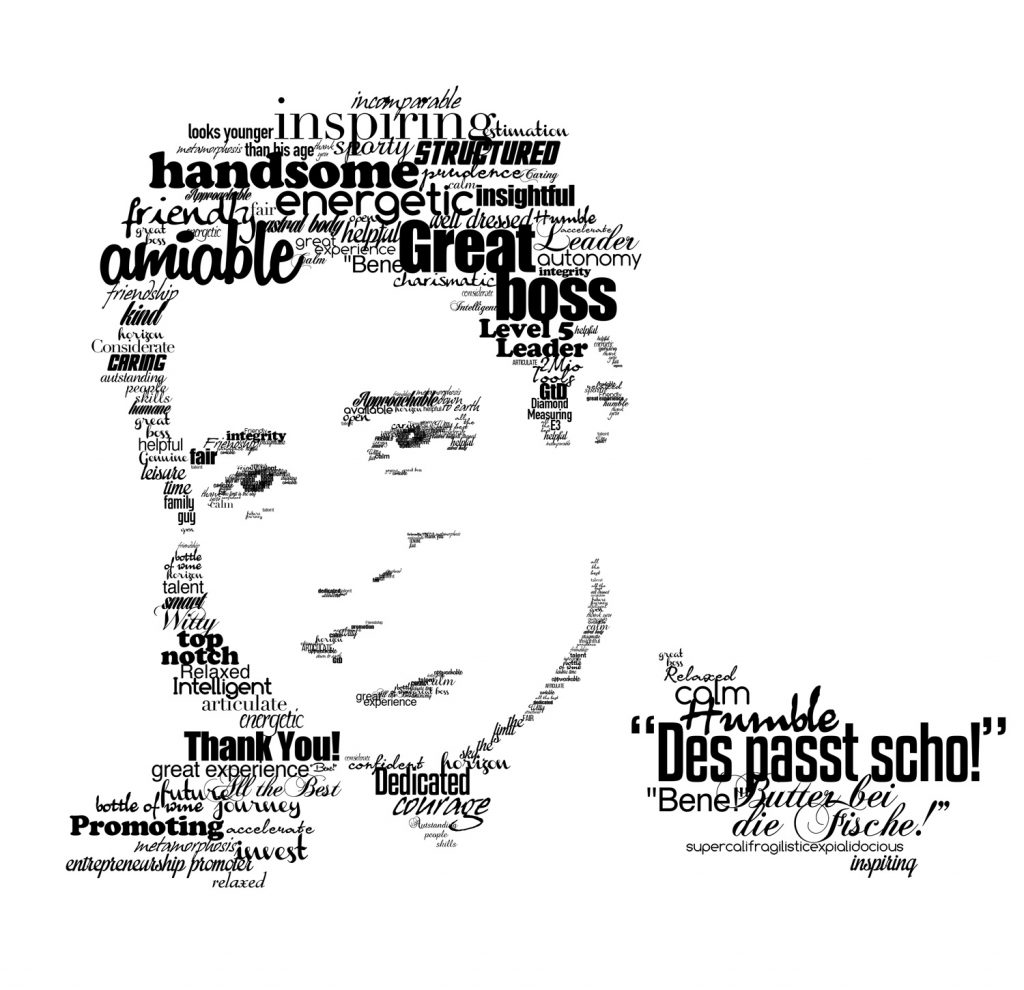
As soon as I had my list of different-looking words ready, I started to place each word on top of the portrait image. I tweaked the artwork until the image got the character of the person—even without the image in the background.
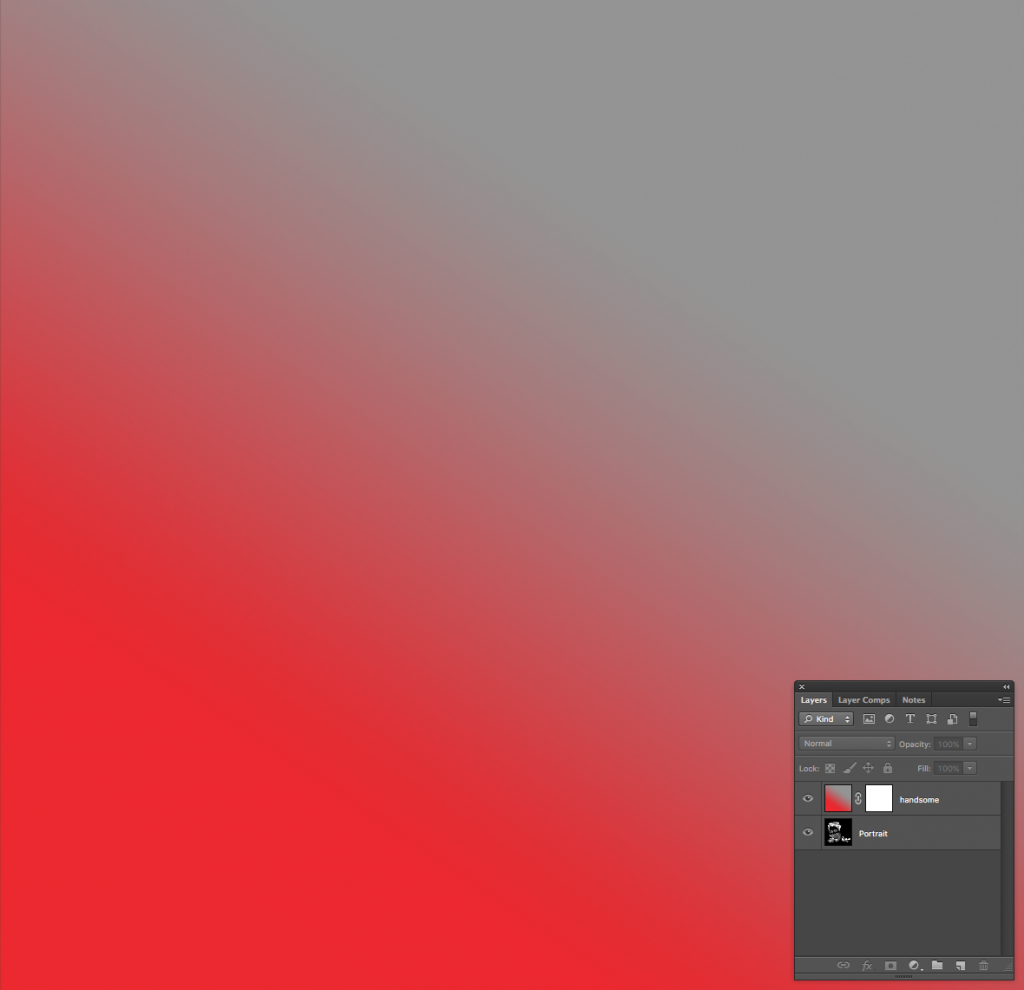
The next step was to give the artwork some color. This happens by creating a colored background in a new window in Photoshop. I’ve created a gradient with the typical Hilti colors of red and grey.
Nerd Spam Alert: Don’t read any further if you don’t want to create your own typography portrait. 😉
I went back to my typography portrait, merged the artwork into one layer, inverted it, and copied it to the window with the color.
In the color window, I selected (Cmd+A) the layer that I just had imported and copied it (Cmd+C).
Then I created a mask on the colored background layer. Holding the Alt key, I then clicked on the mask thumbnail. This makes the mask editable, highlighting the image in white. I then pasted the layer I copied earlier on the editable mask.
The next and final step is where the magic happens. So we are in the mask thumbnail now. By clicking on the color layer, the colored portrait gets revealed— YAY! To make the colors more vibrant, I copied the layer two times and adjusted the levels a bit. And done!
The Final Artwork
The final artwork was framed with 30 photos of the team lead’s colleagues. Printed on aluminum, this goodbye gift was a very unique and special way to say Thank You.
Got someone who deserves a similar gift? Get in touch and I’ll help you make a lasting impression.