Are you struggling to come up with yet another idea for your friend’s birthday? Or do you want to make your home a tiny bit cooler? Then learn how to make these cheap DIY coasters!
1. Buy cork coasters from Ikea
I like the cork coasters from Ikea. They’re not only cheap, but very handy too. Glasses and mugs don’t slide because of the soft cork and they don’t make any noise when you set them down.
2. Decide on the message of your DIY coasters
This depends on who you’re making the coasters for. If it’s for a good friend, the message can be sassy and with a little wink of the eye. If it’s for your mom, you’d better think about the message and choose something more polite and sweet.
Your DIY coasters don’t necessarily need to have hand lettering on them. If you’re more the pattern making type, then go for it. 🙂
3. Sketch your artwork out on paper
Take one coaster and trace it on paper. That way you have the perfect template for your DIY coasters. Have fun with sketching out your artwork!
4. Bring the artwork onto the coasters
Drawing onto the cork with a pencil unfortunately doesn’t work that well. Nevertheless, I colored the backside of my sketch with a very soft pencil to trace my artwork. I at least got a rough idea of the dimensions of my artwork.
To apply the final artwork onto the DIY coasters, I used the edding 750 paint marker in white. It is ideal for writing on metal, glass, plastic, and wood, and it’s waterproof and heat resistant.
To refine the artwork, I used a thinner black marker that is also waterproof.

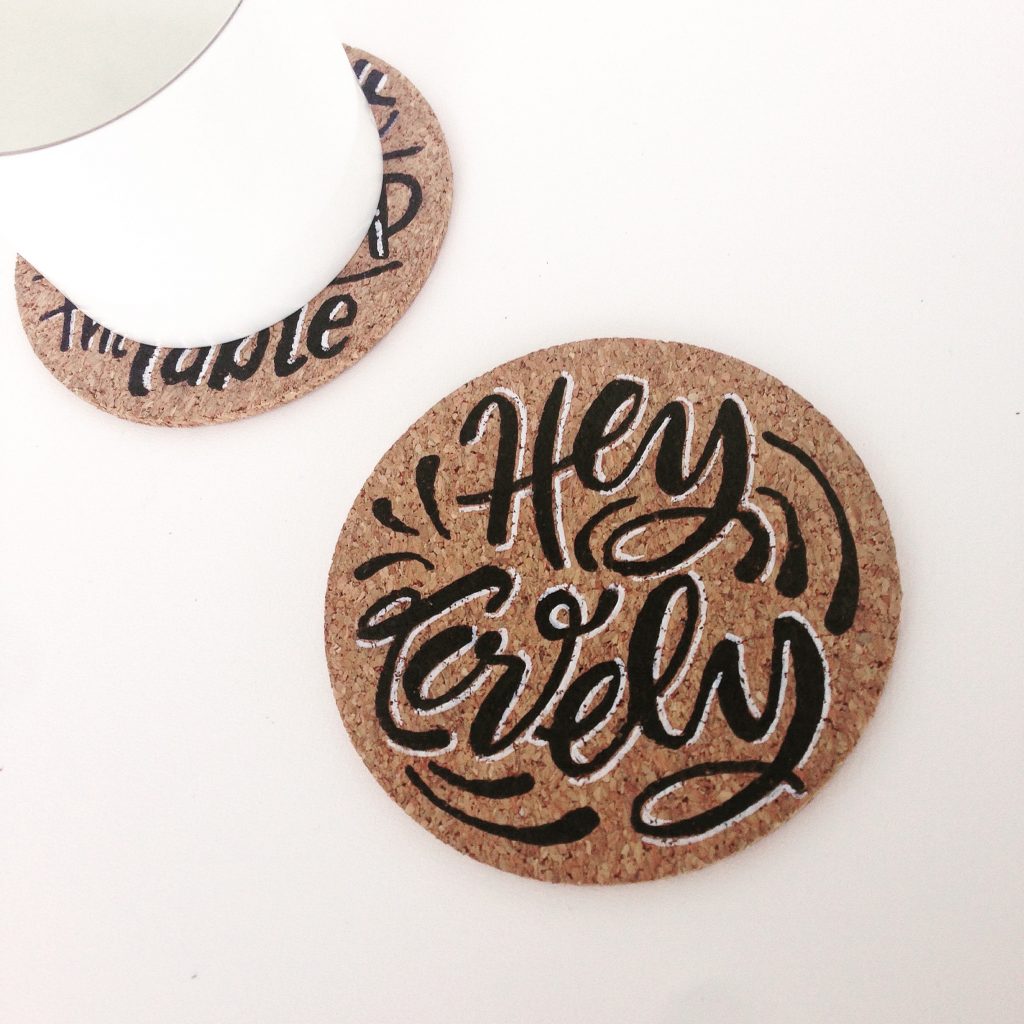
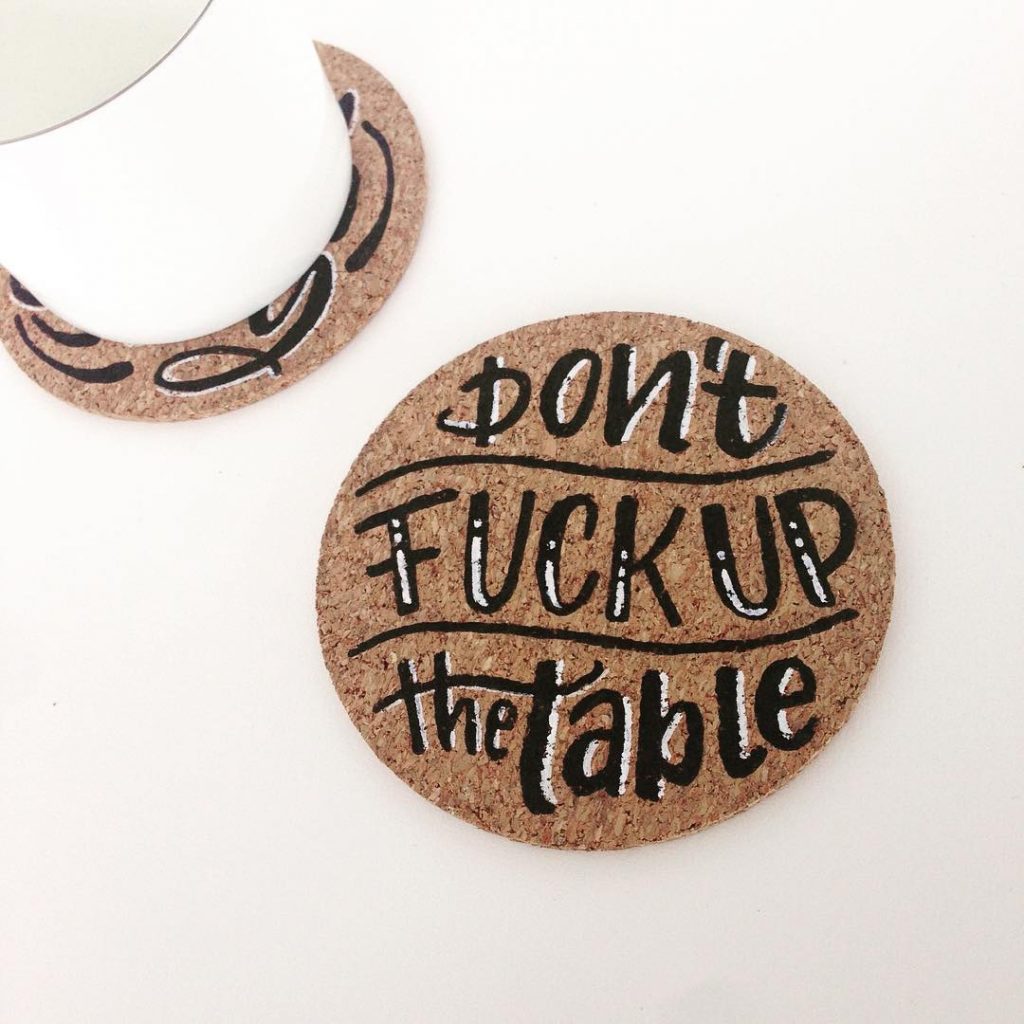
Finished DIY coasters
Have fun creating your own personalized coasters—either for a friend, a relative, or for yourself.
I created these for my home. I tell you, it’s always a good conversation starter!
And these are the coasters I’ll put on the table when my in-laws come for a visit. 😇✌️